Working With Images
Inhaltsverzeichnis
Basic
If you just want to get an image on a page, simply upload the image file (using the 'Attachments' link). Then use {{attachment:image-name.png}} (where image-name.png is the name of your file). Wherever you plop that code is where the image will be. If you put it within a paragraph, it will be part of the flow of the paragraph. For tiny images, this might be fine, but be careful with big images, or your page will look odd.
For example, if you put large image {{attachment:duckie.png}} into the middle of a paragraph, like this  , then that's exactly what you'll get. However, be careful, because as you can see, the graphic can adversely effect your paragraph layout. But, a small image, like this fish [
 ], does not.
Page Alignment


This example uses a chair image that's aligned left. Notice that paragraph text flows around it, so you can (for example) stagger images on the page. Here is the code: {{attachment:chair.jpg||align="left"}}
This example uses a clock image that's aligned right. Notice that text flows around it. Here is the code: {{attachment:clock.jpg||align="right"}}
Getting the image positioned on the page (and relative to your paragraphs) will take a bit of playing. I find placing the image-code above the paragraph gets it aligned perfectly with the paragraph in question. If you view the source of this page, you'll see that I have both image-codes at the start of this section.
Baseline Alignment
Using a pineapple can as an example, the following are examples of aligning an image on inline within the text baseline:
This is top: |
{{attachment:pineapple.jpg||align="top"}} |
This is middle: |
{{attachment:pineapple.jpg||align="middle"}} |
This is bottom: |
{{attachment:pineapple.jpg||align="bottom"}} |
Image as a Link Button
Here's an example of using an image as a button. Or, in this case, a button as a button.  As you can see from the example code, this link will open in a new window. If you don't need it to, simply eliminate the |target="_blank" part. Alternatively, you can even replace the HelpOnEditing part with any valid link, including external URL's.
[[HelpOnEditing|{{attachment:button.png}}|target="_blank"]]
Thumbnail of an Image
If you have a large image that you don't necessarily want/need to display at once, create a thumbnail preview. When the reader clicks the image, they'll get the original enlarged version. You only need to specify either width or height, and the image will automatically scale in proportion.
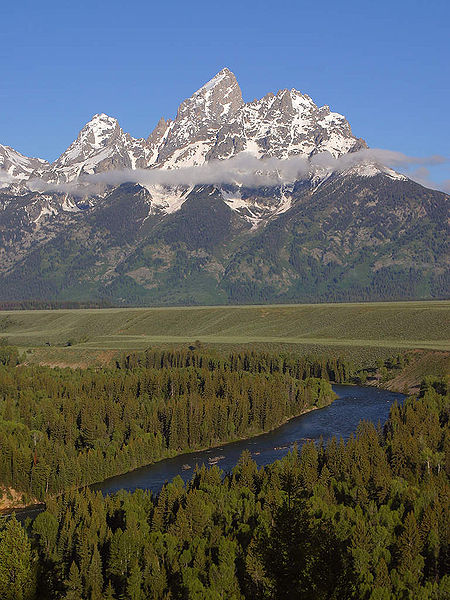
The code: [[attachment:Grand_Tetons.jpg|{{attachment:Grand_Tetons.jpg||width=100}}]]

Title Text
Optionally, you may add an title text to any image link, and it will display when you hover the mouse over the image (the image being rendered or not). To do so, simply put the text in the second argument: {{attachment:fish.jpg|A little tiny fish!}} to generate  .
.
Title Text can be combined with any of the examples described on this page. Simply put it between the double pipe (||) in the link. Borrowing from the example above, here is the clock again with an added description: {{attachment:clock.jpg|old alarm clock|align="right"}}
Combining Options
You can easily combine multiple options separating them with commas. For example, if you want to change both the custom width size and the alignment you should use something like this:
{{attachment:clock.jpg|new caption|width=49,align="left"}}
![]() that looks like this one.
that looks like this one.

